BollyX swag….we know you love it, and we know you don’t have enough of it. While we are constantly on the lookout for new designs, slogans, brands, styles, cuts, and colors for the community, we aren’t able to process orders as quickly as we’d like. Meanwhile..what can YOU do to get more clothing options to wear in your classes? SCISSORS TO THE RESCUE!
This blog post is about how to take an ordinary cotton tee shirt and cut it to make a new design! Now you can buy 3 of the same tee shirts from BollyX and cut them up in 3 different ways! (Please note: we suggest you find old tee shirts to practice on before cutting your BollyX tee.) If you have fabric scissors, those are the best ones to use (they cost about $7 at a drugstore).
MUSCLE TANK
For the “scissors and I don’t get along” folks, and the only gender neutral option, the simplest way to create a swag shirt is to create a muscle tank. For a quick and easy change, simply cut off the sleeves. After cutting one sleeve off, take that sleeve, lay it over the other one and cut along the cut edge and you should have symmetrical sleeves. Be conservative with your first cut. You can always make the arm holes bigger. Try on the shirt each time before you decide to snip again. You also have the option to cut the hem off the bottom (to have a jagged edge) or cut the neckline hem off. You can keep the neckline round or cut a deep vee neck. These muscle tanks are not only perfect if you always feel too warm or overheated in a bulky t-shirt, but they are the perfect way to show off those strong muscles!
OFF-THE-SHOULDER
For the 80’s off-the-shoulder look, simply cut only the hems off of the sleeves, cut the neckline hem off, and cut the bottom hem off. We suggest cutting the bottom hem at a slight diagonal. Be conservative with the neckline. Slowly make the cut wider and wider (out towards the shoulder), trying it on each time before you cut again. Once you have the perfect off-the shoulder look, you’re done! Be careful about cutting the neckline too big. It’s distracting to teach with a shirt that keeps slipping completely off your shoulders. You want a wide collar but not wider than your shoulders. Check it out here on our awesome model! 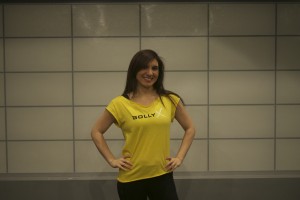
HALTER TOP
To create a halter top, see below images. This one is a bit more complicated so we’ll supplement the text with pictures.
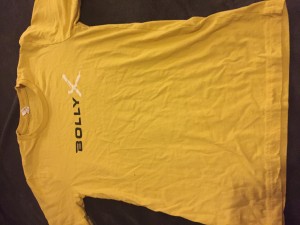
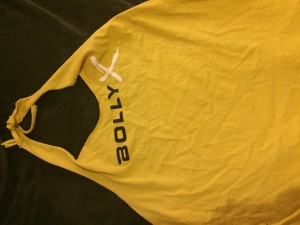
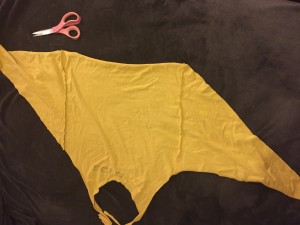
- Start by laying out your BollyX tee shirt on a nice flat surface.
- Cut off each sleeve. Fold the shirt in half to cut off the second sleeve.
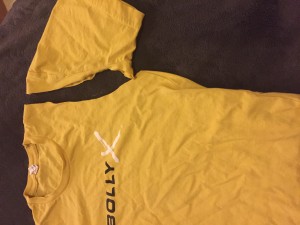

- Fold the shirt in half the other way so the arm holes line up to cut off the neckline hem. Feel free to make a vee-neck. Be careful not to cut into the BollyX logo.
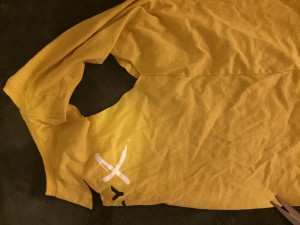
- Now your shirt should look like this when you lay it flat again.
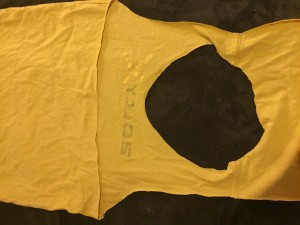
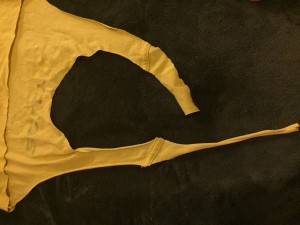
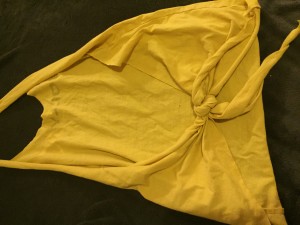
- Next, you want to flip the shirt so the back side is up and cut from the bottom of one arm hole to the other, straight across the back. When you finish cutting that and flip it over, your shirt will look like this:
- Cut down the middle of the flap you folded over, then trim away excess to create the halter ties that will tie behind your neck. It will now look like this:
- After you’ve created the ties for both sides, you want to pull and stretch the fabric out.
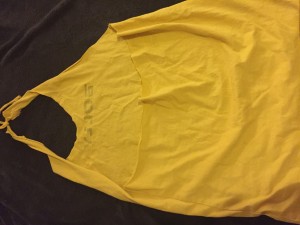
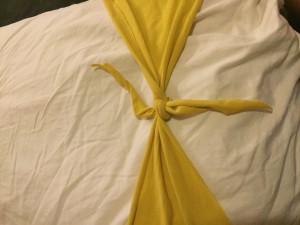
- Here we have flipped it so the front side is up and we have tied the ends together to create the halter. Don’t tie it too tight as you may need to adjust after trying it on.
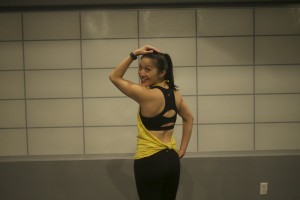
- Here you can see the back side of the halter top. Try it on with a fancy sports bra to see how it fits. You may easily adjust the ties if you want to pull up higher on the torso, or lower. You also have the option to cut the bottom hem off if you feel the tank is too long. Congrats – your halter top is finished!
BACKLESS
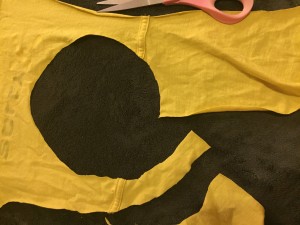
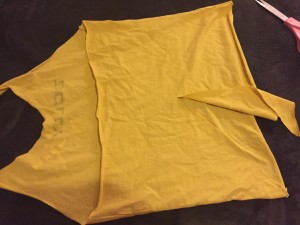
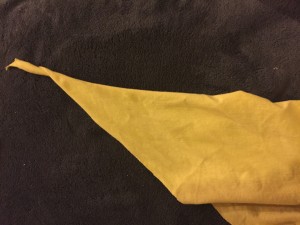
- If you want to take it a step further, you can cut more to create a backless tank. From Step 9, you’ll cut a diagonal across the back side to form two “triangles.” See bottom picture which shows the back opened up.
- Take the ends of the triangles and pull on it to stretch the fabric so you can tie it easier.
- At this point, I put the shirt around a pillow for easier tying. Also, I couldn’t tie this on myself and take a picture.
- Here is the back of the backless tank without the pillow. Trim the ends if you’d like, or keep it loose and hanging.
- Finally, here is a picture of it on a human being.